
Light Show is a unique feature on Tesla cars and was launched on Christmas 2021 with the software version 11.0. As the Tesla Light Show is released at Christmas, it is also called as Tesla Christmas Light Show. Like Apple CarPlay, Tesla has a lot of connectivity features. Tesla car owners can activate Light Show on its supported models using their headlights, taillights, cabin lights, and other synchronized lights with music.
Light Show Supported Tesla Models
- Model S
- Model 3
- Tesla X Model
- Tesla Y Model
Steps to Activate Tesla Light Show
1. Navigate to the Taskbar on your Tesla car.
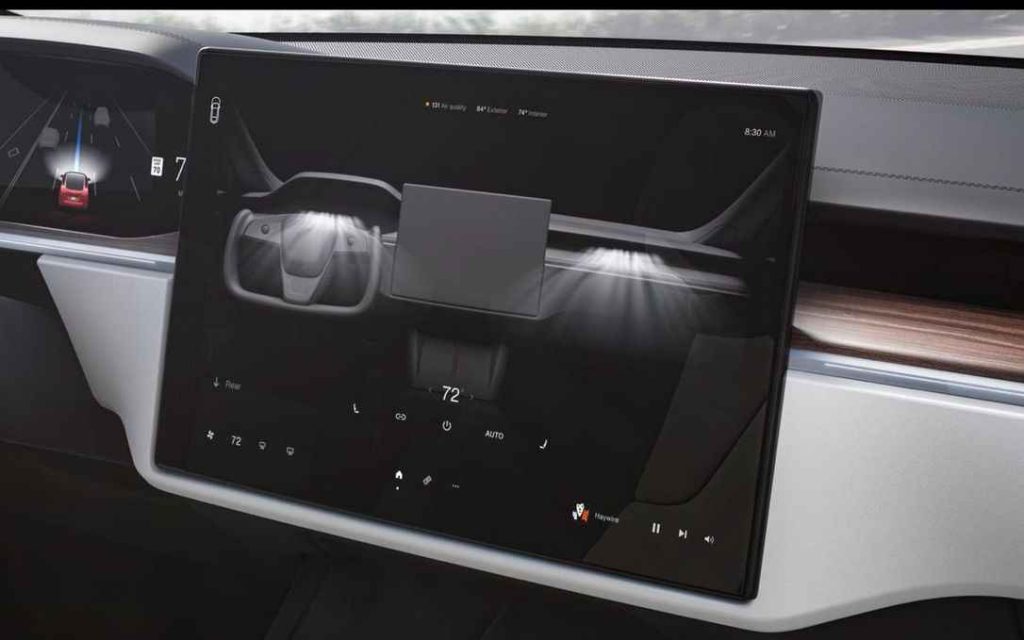
2. Select the Toybox from the taskbar.
Information Use !!
Concerned about online trackers and introducers tracing your internet activity? Or do you face geo-restrictions while streaming? Get NordVPN - the ultra-fast VPN trusted by millions, which is available at 69% off + 3 Months Extra. With the Double VPN, Split tunneling, and Custom DNS, you can experience internet freedom anytime, anywhere.

3. Next, click the Light Show option that you can find on the left side of the Toybox.

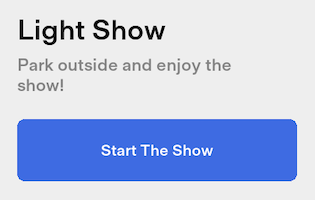
4. After you select the Light Show option, it will ask you to park your car outside.
5. Tap the Start The Show button to start the Light Show.
6. Next, you need to select the volume.
7. Once the volume is set, it will show you a message saying The show will begin after you exit the vehicle and close the doors.
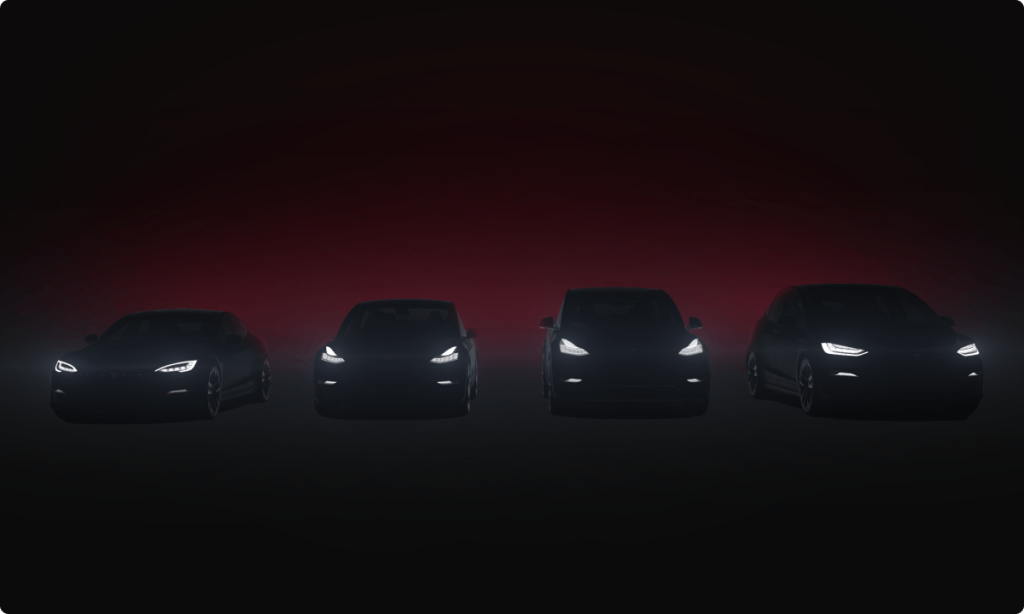
8. Park your car outside and get ready to enjoy the show.
9. After you exit the car, the show will begin.
10. You can enjoy the show and you can also record it to upload it on Youtube.
How to Run Custom Light Show in Tesla
1. Turn on your computer or laptop.
2. Insert the USB drive and format it.
3. If you use Windows PC, format the USB drive with exFAT32. For Macs, format the drive MS-DOSFAT.
4. Next, create a root folder and name it Lightshow.
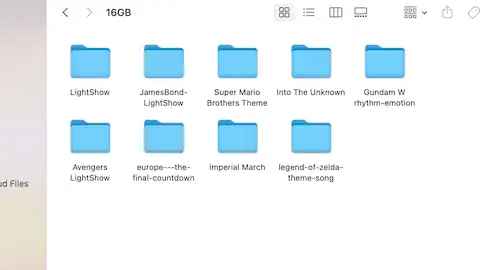
5. Open the web browser and download the Light Show you want to run on your Tesla.
6. You can see two files when you download a custom Light Show. One is lightshow.fseq and another one is lightshow.wav or lightshow.mp3. The .fseq file has sequence data and .wav file has audio data. Use lightshow.wav for a better experience.
7. Locate the files in the Lightshow rooter folder.
8. Once the downloading process is over, plug out the USB drive from your PC.
9. Now, insert the USB drive into the USB port on your Tesla car.
10 Navigate to the Toybox on the center screen and select Start the Light Show.
11. A pop-up message titled Custom Light Show will appear on the screen.
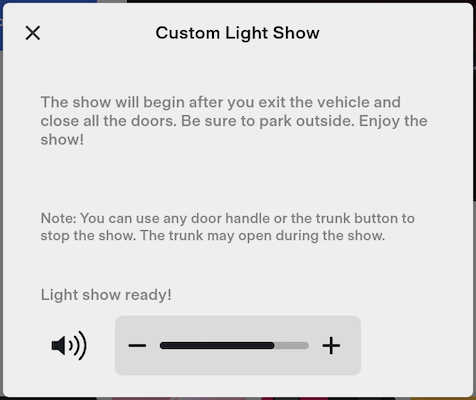
12. Once you see the Light Show is Ready message, increase the volume and exit the car.
13. After you exit the car, the custom Light Show will begin.
Frequently Asked Questions
You need to press the triangle button located above the rearview mirror to turn on the emergency light on Tesla.
Using the Toybox app, you can activate the Light Show on Tesla Model 3.
Disclosure: If we like a product or service, we might refer them to our readers via an affiliate link, which means we may receive a referral commission from the sale if you buy the product that we recommended, read more about that in our affiliate disclosure.